Infrared Diagnostics
Thermal Imaging & Infrared Inspections
An infrared camera does not guess where your insulation is failing — it maps the exact temperature variance across every wall, ceiling, and floor and turns energy loss you cannot see into a picture you can act on. Paired with a blower door test, it becomes the single fastest way to find out precisely where your insulation dollars should go instead of where a generic checklist assumes they should.
What Number This Test Produces
ΔT (Delta-T) Thermal Map
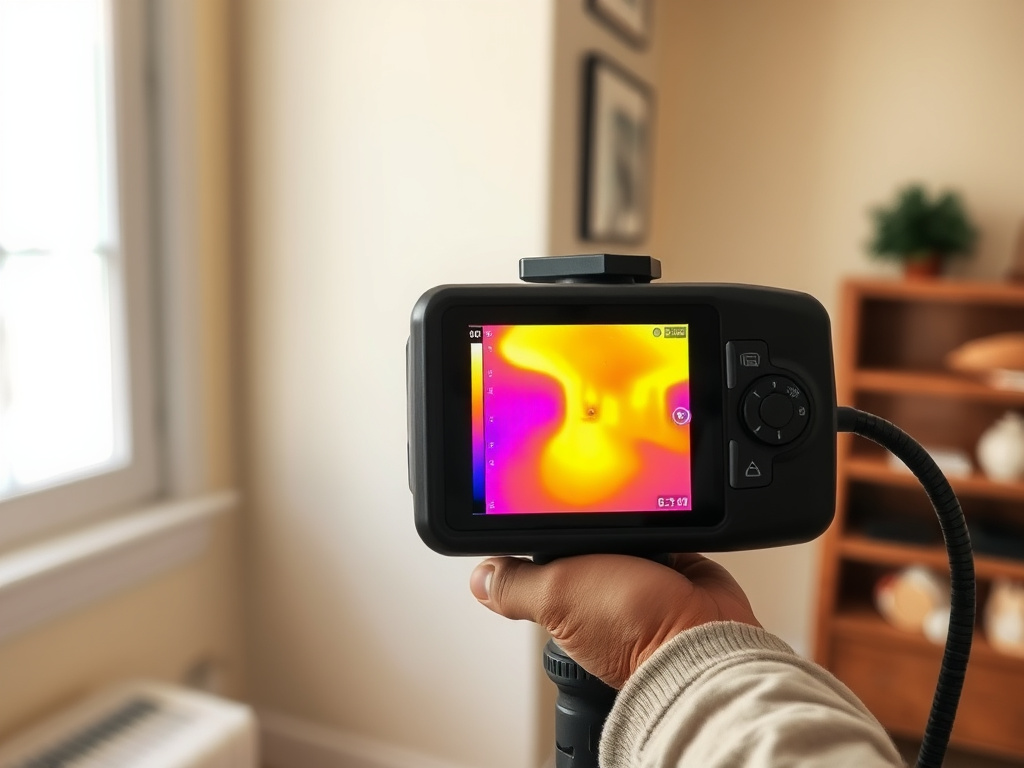
Infrared temperature variance revealing insulation voids and thermal bridging
Which Rebate This Unlocks
Precision-Targeted 25C Insulation Credit
Thermal findings let you document credit-eligible gaps instead of claiming a blanket re-insulation
What It Detects
What an Infrared Camera Actually Sees
Every surface in your home radiates infrared energy proportional to its own temperature. Our camera converts that radiation into a color-coded image in real time — warmer areas typically read as reds and oranges, cooler areas as blues and purples, with a gradient scale in between. Where insulation is missing, compressed, or has settled over the years, the surface temperature of that section of wall or ceiling shifts measurably away from its surroundings, even though nothing looks different to the eye. That measurable shift, called delta-T, is the exact signal the camera is built to read.
Beyond straightforward insulation gaps, thermal imaging reveals air leak pathways around window and door frames, thermal bridging at framing members and recessed can lights, and — critically — moisture intrusion, since wet insulation and wet framing conduct and hold heat differently than dry materials. A single infrared pass frequently surfaces problems a visual-only inspection would never catch, because the surface itself can look completely normal while the temperature signature underneath tells an entirely different story about what is happening inside the wall cavity.
Why We Pair Tests
Why Thermal Imaging Is Paired With a Blower Door Test
Thermal imaging works best under active depressurization. When the blower door is running and pulling outside air in through every gap in the envelope, air leak pathways become dramatically more visible on camera — cold infiltrating air moving through a wall cavity shows up as a sharp, clearly defined cold streak instead of a subtle, easy-to-miss gradient. That is why we run thermal scans while the blower door is active whenever both tests are booked together for the same visit: the depressurization amplifies exactly the signal the camera is designed to detect, and it turns a static insulation check into a dynamic air-leakage map at the same time.
Booking the two tests separately still works, but you lose that amplification effect — a standalone thermal scan under normal, non-depressurized conditions will still catch obvious insulation voids, but subtler air leak pathways are far easier to miss without the blower door running at the same time.
Reading the Report
How to Read a Thermal Image Report
Every report we deliver includes a temperature legend so the color scale in each image means something specific to your house, not a generic reference chart. The core concept to understand is delta-T: the bigger the temperature gap between a suspect area and the surrounding surface, the more significant the finding. A two-degree variance around a can light might be normal; a fifteen-degree variance across an exterior wall almost certainly indicates a real insulation void or an active air leak that is worth prioritizing. Each flagged image is paired with a standard photo of the same location so there is never any ambiguity about where in the house a finding is located, and findings are ranked by severity so you know which ones to act on first.
We walk through the report with you directly rather than just emailing a PDF, because the color scale on its own can be misread without context — a warm-looking area is not automatically bad, and a cool-looking area is not automatically a problem, depending on what is on the other side of that surface and what the outdoor conditions were during the scan.
Timing
Best Conditions and Season for an Accurate Scan
Thermal imaging depends entirely on having a meaningful temperature difference between inside and outside — without that gap, there is no signal for the camera to read. That is why the most reliable scans happen during winter or peak summer, when the indoor-outdoor temperature difference is largest, ideally twenty degrees Fahrenheit or more. Mild spring or fall weather, when indoor and outdoor temperatures sit close together, produces a much weaker signal and less reliable findings. Direct sun exposure on an exterior wall can also artificially heat that surface and mask a real thermal bypass underneath it, so we schedule scans around sun angle and check the forecast before confirming an appointment.
Ideal Conditions
- Outdoor/indoor temp gap
- 20°F+
- Season
- Winter or peak summer
- Wind
- Low to moderate
- Direct sun exposure
- Avoided on scan surfaces
Why It Matters
- Bigger temp gap
- Clearer thermal signal
- Mild-weather scans
- Less reliable data
- Sun-heated walls
- Can mask real findings
- We schedule accordingly
- Weather-checked bookings
What to Expect
What a Thermal Imaging Visit Looks Like
A thermal scan booked alongside a blower door test typically adds thirty to sixty minutes to the audit visit, since the technician walks every exterior wall, ceiling, and floor with the camera while the fan maintains depressurization. A standalone scan without the blower door running takes a similar amount of time but is scheduled around the temperature-gap requirements on their own — usually early morning in summer or the coldest part of the day in winter, when the indoor-outdoor delta is at its largest for the day. We photograph every room systematically rather than only checking areas you flag as suspect, because problems are frequently found in places homeowners never think to mention, such as behind furniture-heavy exterior walls or above bathroom exhaust fan penetrations in the attic.
The scan itself is entirely non-invasive — nothing is drilled, cut, or removed to perform it. Where a finding suggests something worth confirming physically, such as suspected moisture behind a wall, we will discuss next steps with you rather than opening anything up during the visit itself.
Cost
Does Thermal Imaging Cost Extra, and Is It Worth It?
Thermal imaging is typically included as an add-on to a full diagnostic audit rather than priced as a large standalone service, though it is available on its own if you only need the infrared scan. It is worth adding whenever you suspect a specific problem area — a room that never seems to hold temperature, a recurring ice dam along one section of roofline, or a wall that always feels cold regardless of the thermostat setting — because it pinpoints the exact cause of that specific complaint instead of leaving you to guess between several possible explanations. It is also worth adding any time you are about to spend real money on an insulation upgrade, since the scan tells you precisely which sections of the building envelope actually need the work before a contractor writes a scope of work and a price around it.
Precision, Not Guesswork
Using Thermal Findings to Target Insulation Dollars Precisely
The single biggest advantage of a thermal scan over a generic insulation quote is precision. A contractor working from a visual walkthrough alone tends to recommend blanket re-insulation of an entire attic or wall assembly, because without instrument data there is no way to know which sections actually need it. A thermal scan replaces that guess with a map: this section of attic is performing as expected, this section has a clear void, this section shows a moisture signature that needs investigation before any insulation goes back in. That level of detail lets you spend upgrade dollars exactly where they will produce a measurable result, instead of paying to re-insulate square footage that was never the problem in the first place.
It also strengthens your tax-credit documentation. A report that shows the specific delta-T findings behind an insulation upgrade is a stronger basis for a 25C claim than a general invoice for "attic insulation," because it demonstrates the upgrade addressed a documented, instrument-verified deficiency rather than a routine maintenance choice.
We hand the annotated thermal map directly to whichever contractor performs your insulation or air-sealing work, so the scope they quote lines up with what the camera actually found rather than a broader assumption about the whole envelope. That single step is often what keeps an upgrade project on budget.
Related Diagnostics
See What's Hiding in Your Walls
Pair a thermal imaging scan with a blower door test for the clearest possible picture of where your home is losing energy.